Great! As a MYOB AccountRight Live user its really easy to get started with Debtor Daddy firstly, we'll need to get you setup with a Username and Password so head on over to the main website and click Try it Free.

Once you've been directed to the registration page we'll ask you for 3 basic details
1. Your First & Last Name
2. Your Email Address
3. A Password - Please make sure its a secure password with a mix of letters, numbers and symbols
Fill in the details and click "Create my account" once you click this button we'll get your account setup and direct you to the "My Organisations" screen. We'll also send you an email to confirm your account. Don't worry you'll have 48 hours to confirm your Debtor Daddy Account.
Now it's time to connect Xero to Debtor Daddy it's really important that you are either thesubscriber or a user with Adviser and Reporting access to ensure you can make use of all Debtor Daddy's functions.
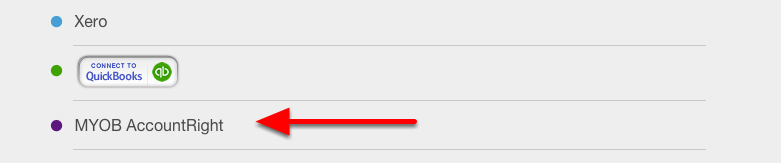
1. Select your accounting software
Once you have completed the Email Verification Step during your signup you'll be directed to the Your Organisation screen.
From here select MYOB AccountRight
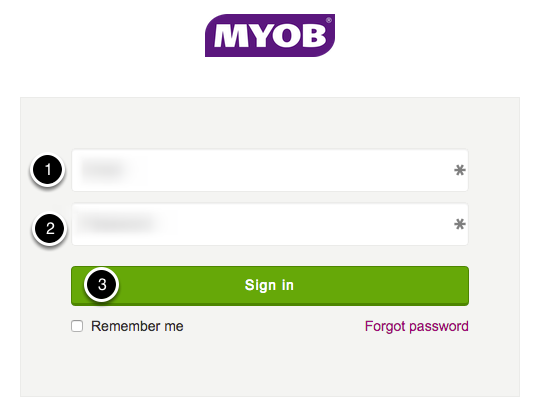
2. Login to my.MYOB
1/ Enter your my.MYOB Email Address
2/ Enter your my.MYOB Password
3/ Click Sign In
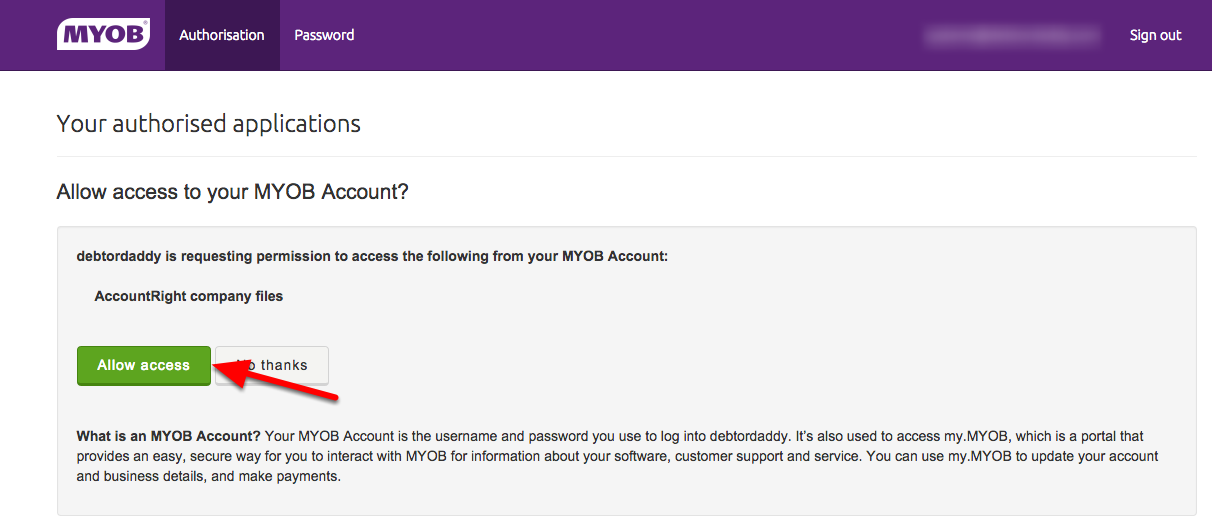
3. Authorise Debtor Daddy
In order to get your invoice data we need you to allow access to your AccountRight Company Files
Click Allow Access
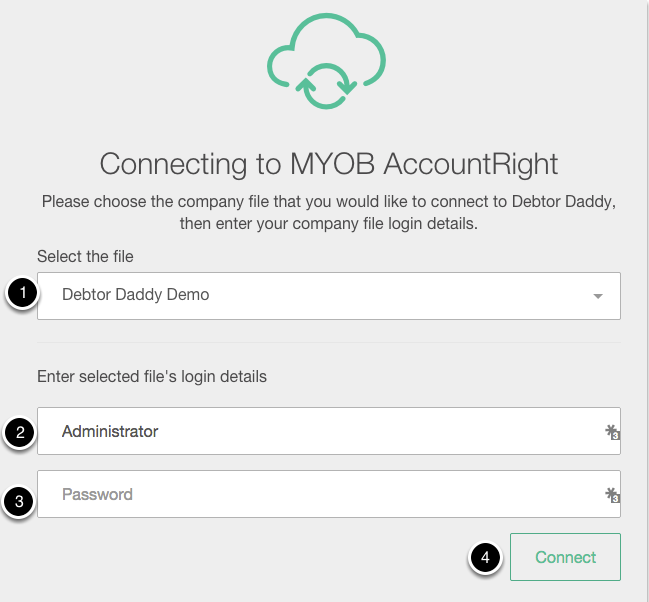
4. Select Company File
Now you'll need to select your company file from the drop down
Enter your MYOB AccountRight File Username
Enter your MYOB AccountRight File Password
Click Connect
5. Connected!
Your organisation is now connected to Debtor Daddy and you can begin chasing your invoices.
If you need to add additional MYOB AccountRight Live Company Files simply repeat the above steps
